Overview
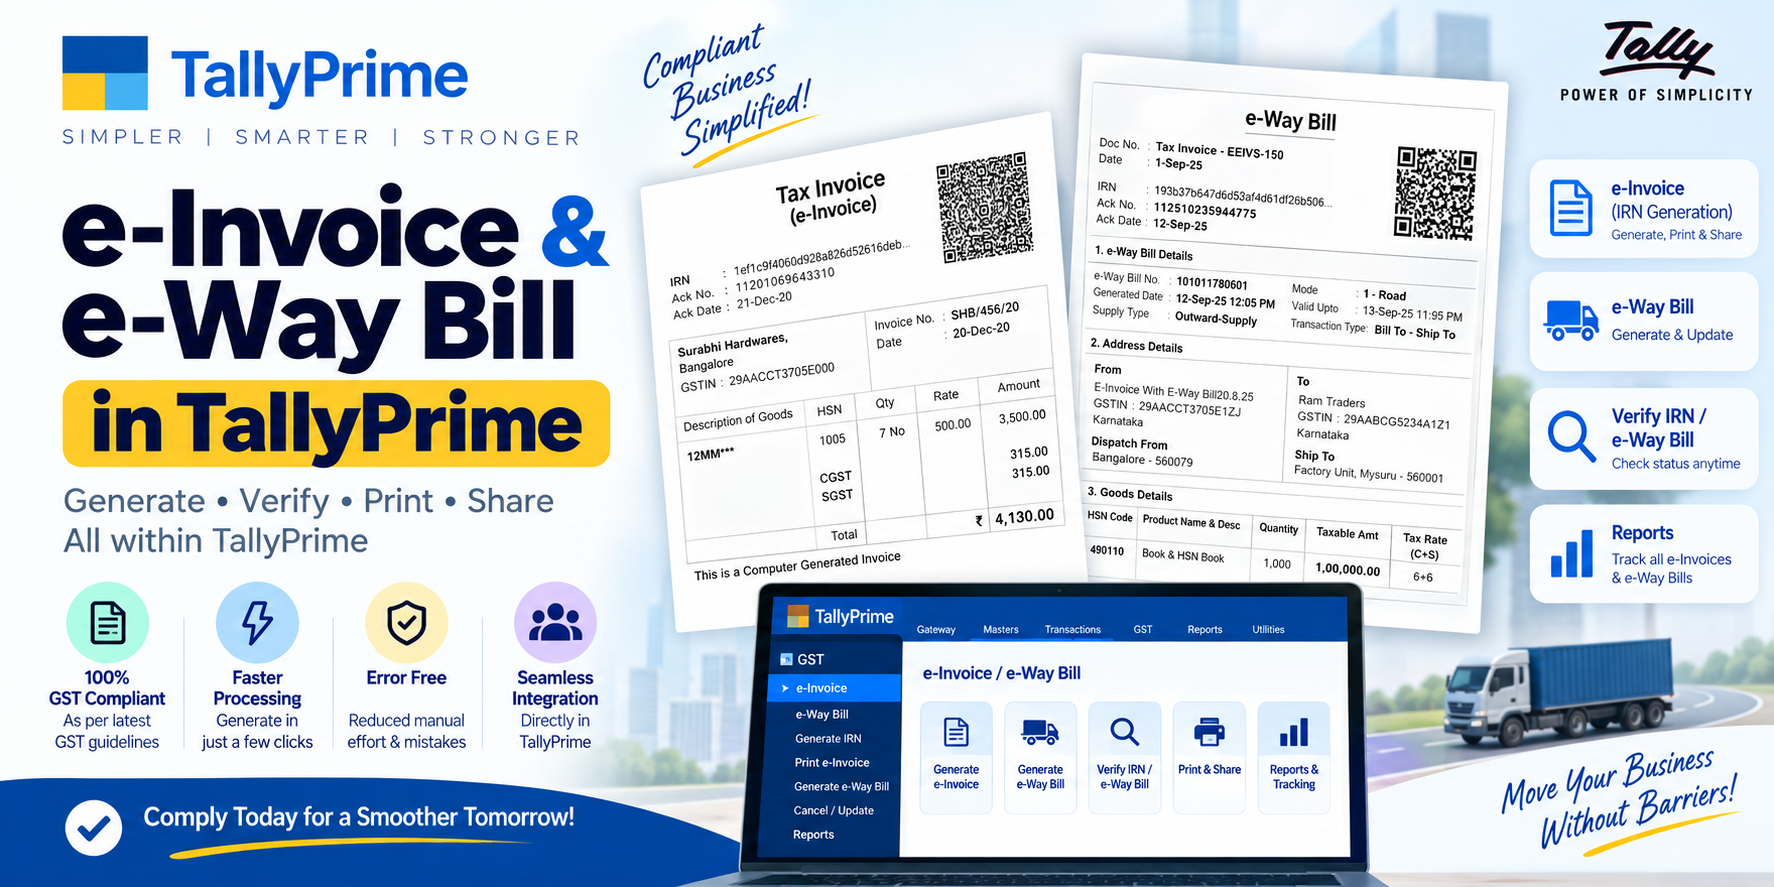
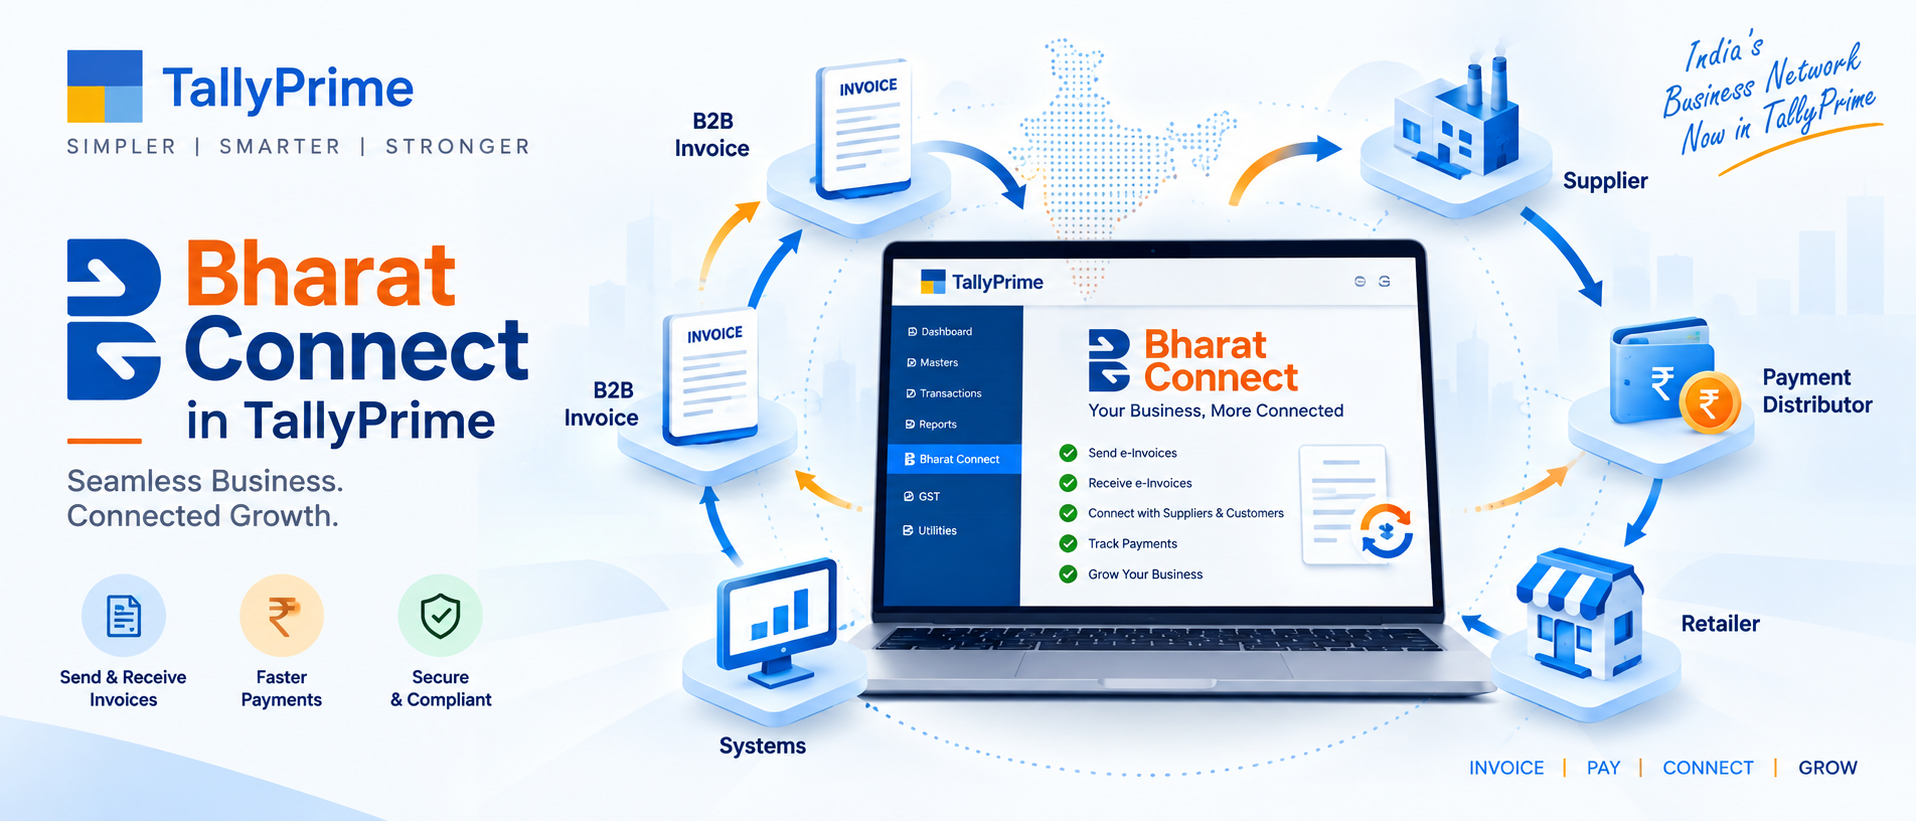
Bharat Connect is TallyPrime's native, built-in integration layer that directly connects your Tally company with the Government of India's GSTN portal — enabling you to generate IRN (Invoice Reference Number), signed QR codes, and e-way bills for each invoice in literally a single click, all without ever leaving the TallyPrime interface or using any third-party web portal, browser extension, or middleware API tool. For businesses in Hisar and Haryana that are covered under the mandatory e-invoicing threshold (currently applicable to registered persons with aggregate turnover exceeding Rs. 5 crore in any preceding financial year), Bharat Connect eliminates the error-prone manual workflow of exporting invoice JSON files, logging into the NIC e-invoice portal, uploading them one by one, waiting for IRN generation, downloading the response and then re-importing IRN/QR back into Tally. Instead, as soon as you save a sales voucher, TallyPrime silently pushes the invoice payload to the GSTN IRP system over a secure encrypted channel, receives back the cryptographically signed IRN, QR code, Acknowledgement Number and Date, and writes all those fields directly back into your voucher in real time — then automatically prints them on the sales invoice layout next time you take a printout or email a PDF. Bharat Connect also handles e-way bill generation, IRN cancellation, rejection of counterparty IRNs, and seamless GSTR-1 auto population of all B2B invoices that have been successfully registered on the portal.
Key Benefits
1-Click IRN Generation
Save a sales voucher and TallyPrime automatically pushes it to GSTN, fetches the IRN, QR code & Ack No, and writes it back onto the voucher — no manual JSON uploads.
Direct GST Portal Sync
Secure, encrypted, government-approved direct connection to NIC IRP system. No third-party API vendors, no middlemen, no risk of data leakage to unauthorised services.
Auto e-Way Bill Linking
If invoice value exceeds Rs. 50,000 and requires e-way bill, Bharat Connect generates Part A & Part B e-way bill number alongside IRN, all in the same request.
GSTR-1 Auto Filed
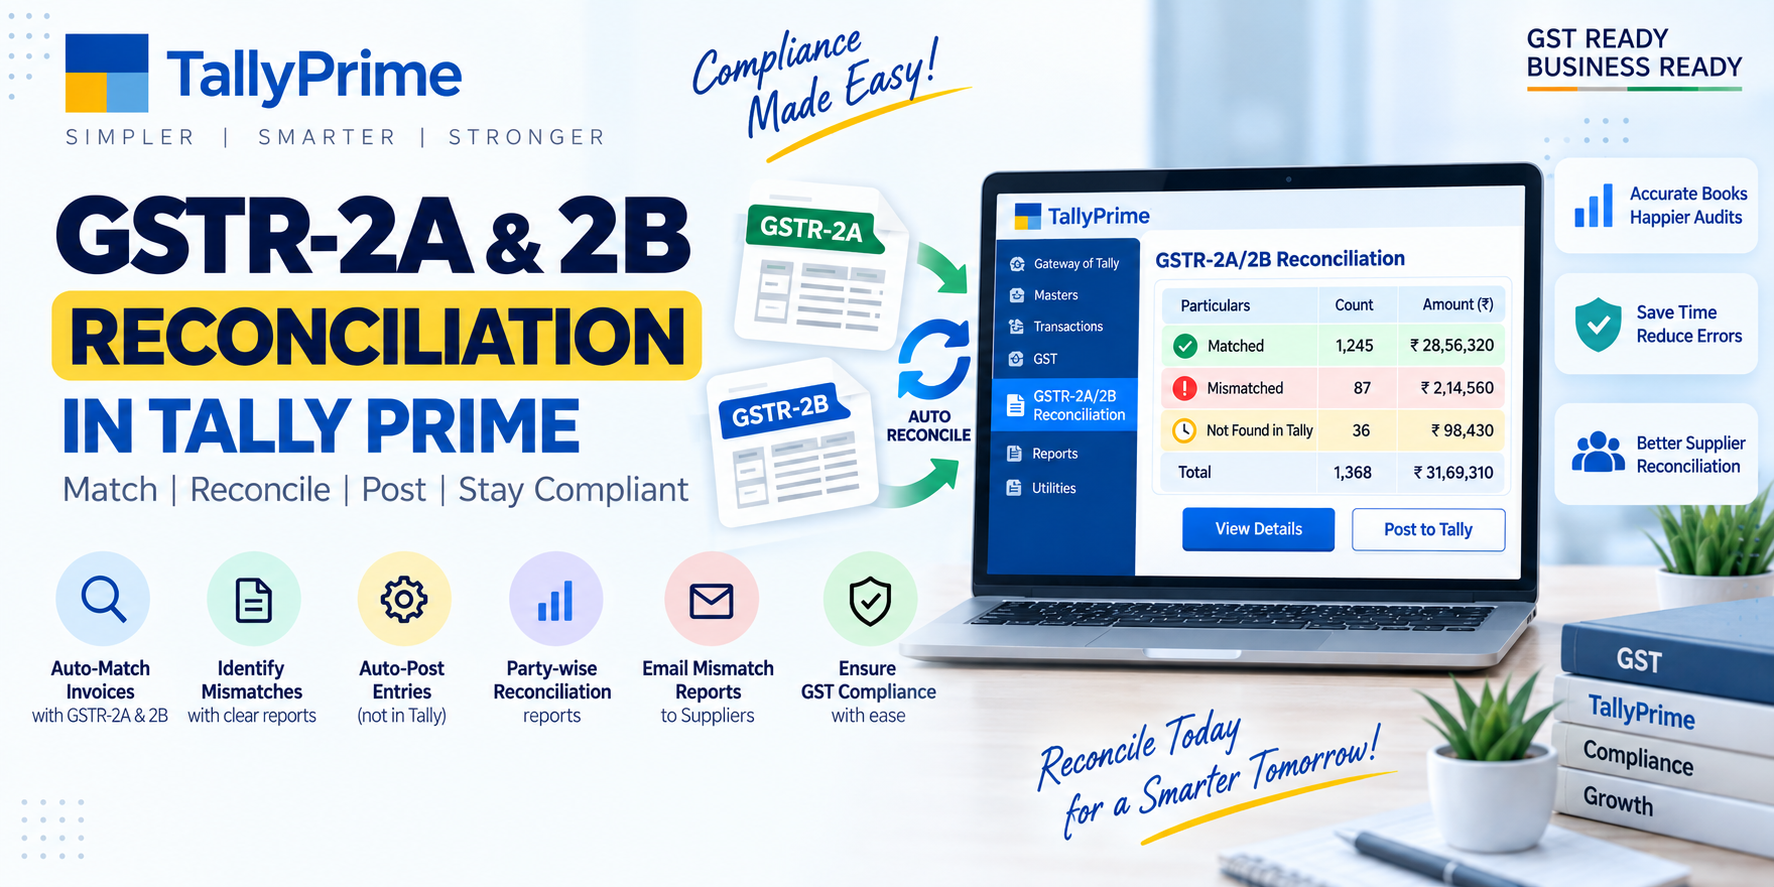
All invoices with valid IRN automatically sync to your GSTR-1 return. Reconcile before filing with zero manual entry of B2B, SEZ, DE, and export invoices.
Step-by-Step Guide
Register GSTIN One-Time on e-Invoice Portal
Before using Bharat Connect, your company GSTIN must be registered on the official NIC e-invoice portal at einvoice1.gst.gov.in. Login using GST credentials, go to API Registration, create an API user ID and password specifically for Tally integration. Note these credentials — you will enter them in TallyPrime Company Features.
Enable Bharat Connect from Company Features

Open TallyPrime and load your company. Press F11 (Features) or go to Gateway → Alter → Company Features. Under the Statutory & Taxation section, scroll down to Bharat Connect / e-Invoicing and set it to Yes. A new configuration panel opens.
Enter GST Portal Credentials
In the e-Invoice configuration panel, enter your GSTIN number, the API User ID and API Password created in Step 1. Set Generate IRN on Save = Yes and Generate e-Way Bill with IRN = Yes if applicable. Choose Apply From Date as the first day of the month you want e-invoicing to start from.
Verify Party GSTINs & HSN Codes

Press Ctrl+A to save. Before creating live invoices, open the e-Invoice & e-Way Bill Report under GST Reports and run the Pre-Validation Check. TallyPrime will flag any ledgers with missing or invalid GSTIN format, incorrect state codes, or missing mandatory HSN codes on stock items. Fix all errors first.
Create Sales Invoice; IRN Auto-Generates on Save
Now create a normal Sales Voucher (Accounting Invoice or Item Invoice) for a B2B customer. Fill in all mandatory fields: Party GSTIN, Place of Supply, HSN codes for each line, Taxable value, CGST/SGST or IGST rates. When you press Ctrl+A to save, TallyPrime immediately sends the request to GSTN IRP.
Print Invoice with QR & IRN
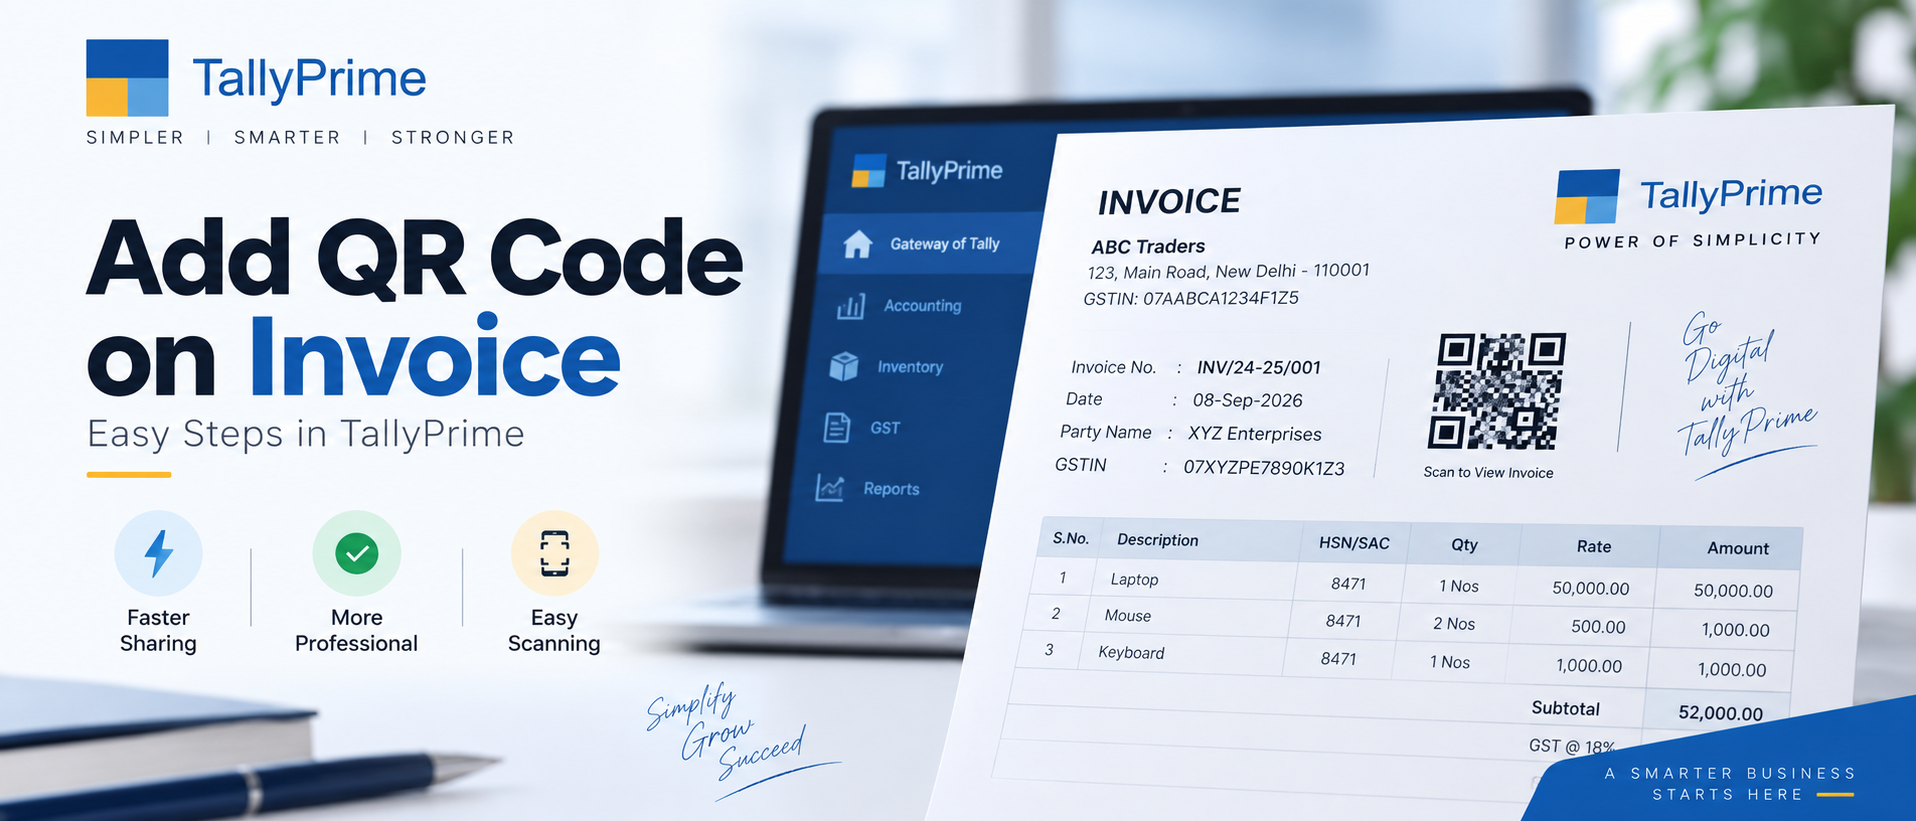
Upon successful IRN registration, TallyPrime displays a green confirmation banner. The IRN number (64 characters), IRN Ack No, IRN Ack Date, Signed QR Code, and Signed e-Invoice JSON get stored on the voucher. Press Alt+P to print — the official e-invoice layout automatically prints the QR code and IRN at the top, compliant with CBIC notification.
Cancel / Reject IRN When Required
If an invoice needs to be cancelled within 24 hours of IRN generation, open the voucher, click on the IRN Details button on the right ribbon, choose Cancel IRN, enter a cancellation reason code (Duplicate / Data Entry Error / Order Cancelled / Other) and confirm. TallyPrime sends cancellation request to GSTN and marks the voucher cancelled. For rejection of counterparty IRN in GSTR-2B, use the IRN Rejection tool.
Pro Tips & Best Practices
Bharat Connect Success Checklist
- Pre-validate all masters first: Run the e-Invoice Pre-Validation report once a week. Fix any party GSTIN format errors, state code mismatches, and missing HSN/SAC codes on stock items to avoid IRN rejection at save time.
- Use IRN Pending report daily: The IRN Pending list in GST Reports shows all vouchers saved but not yet registered. If an IRN failed due to internet outage, select all and click Send Again to re-process in bulk.
- Separate series for e-invoice vs manual: If you have both B2C (non-e-invoice) and B2B (e-invoice) vouchers, use different voucher numbering series so your CA can easily distinguish and reconcile them during GSTR-1 filing.
- Never edit voucher after IRN is generated: Once IRN is allotted, any change to taxable value, tax amount, GSTIN, or HSN renders the original IRN invalid. Always Cancel IRN first, then Alter the voucher, then save again to generate a fresh IRN.
Frequently Asked Questions
No. The voucher saves normally to your Tally data even without internet. The IRN generation step simply fails silently and the voucher is marked as "IRN Pending". TallyPrime adds it to the IRN Pending queue. As soon as internet connectivity is restored, open GST Reports → e-Invoice → IRN Pending, select all pending vouchers using spacebar, then click the Send to IRP button on the right panel. All selected invoices will be processed in bulk and IRNs written back. We recommend processing the pending queue at least twice a day.
Yes. The NIC IRP system allows IRN generation for backdated invoices within the current financial year. However, as per GST law, if e-invoicing was already mandatory on the original invoice date, you must generate IRN even if reporting with delay. Note that backdated IRNs may attract late fee on GSTR-1 if the filing date for that period has already passed. We strongly recommend generating IRNs on the same day the invoice is issued. For periods before e-invoicing threshold applied to your company, no IRN is required.
Yes. Any buyer, transporter, or GST officer can verify the authenticity of your e-invoice QR code by scanning it with the official NIC e-Invoice QR Code Verifier mobile app available on Google Play Store and Apple App Store, or by entering the IRN on einvoice1.gst.gov.in Verify tab. The signed QR contains a hash of invoice details (GSTINs, invoice number, date, value, HSN summary) which is cryptographically matched against the IRP registry — ensuring 100% tamper proof verification without requiring access to Tally or your accounting system.