Overview
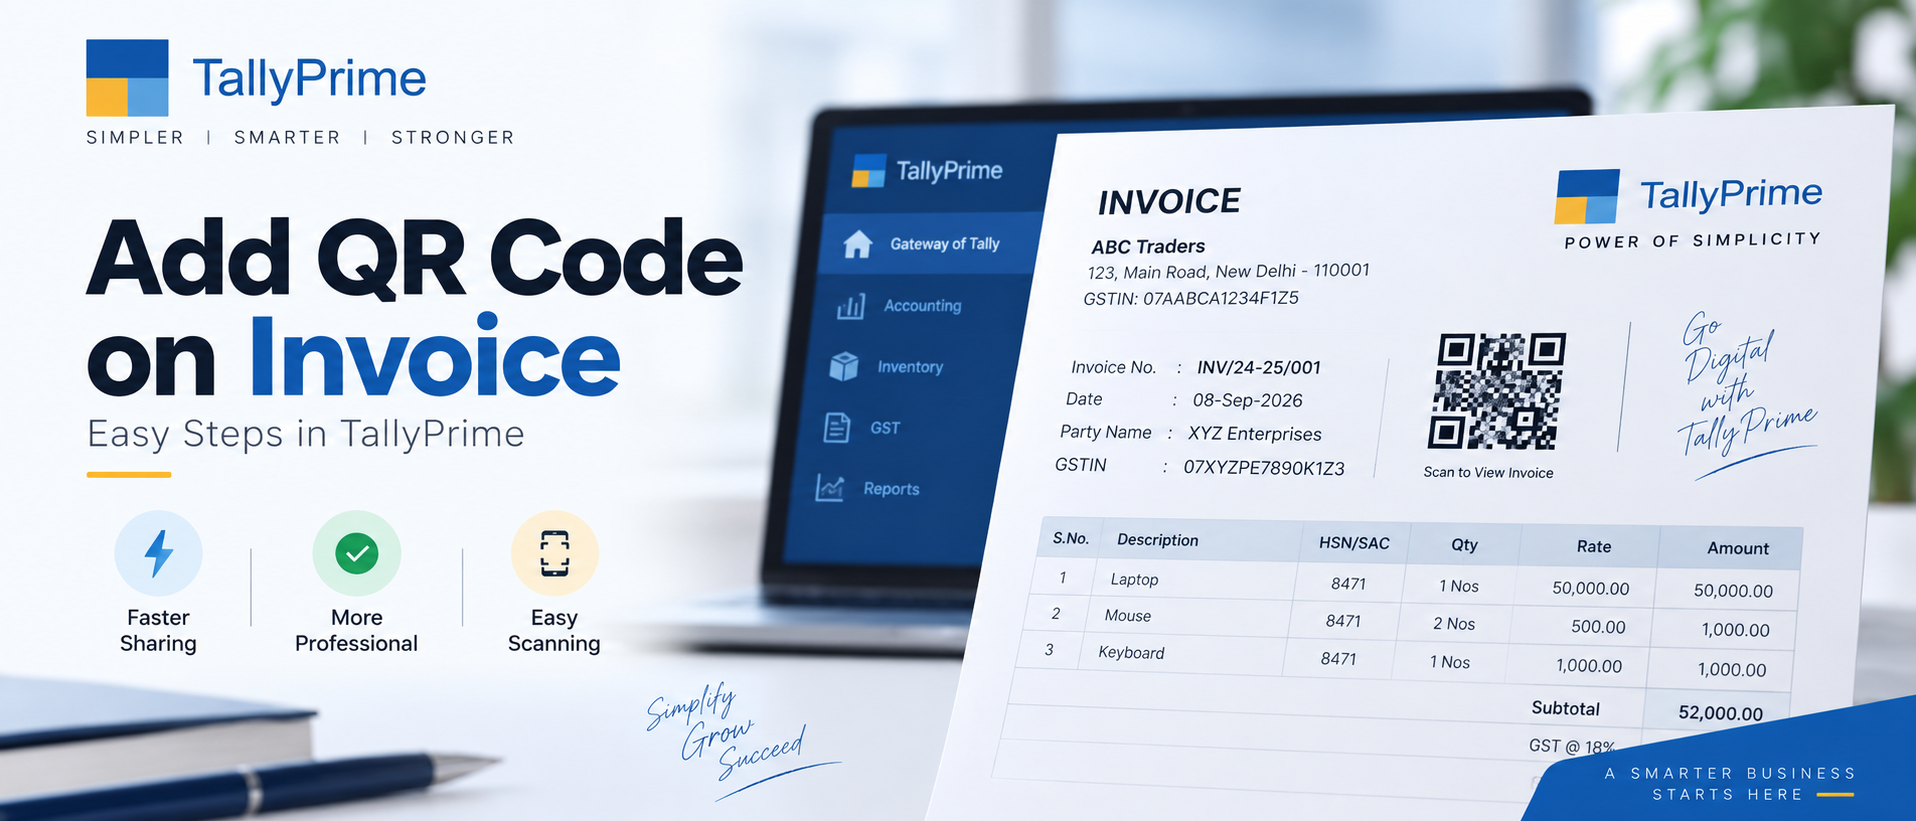
Adding a dynamic QR code to your TallyPrime sales invoices is one of the fastest ways to improve customer payment collection and reduce delayed receivables. With the Government of India and GSTN pushing for faster digital payments on B2B and B2C invoices, having a scannable QR code printed on every GST invoice is no longer optional for most businesses. TallyPrime comes with a built-in dynamic QR generation feature that encodes your company's UPI ID along with the invoice number, date, GSTIN of the buyer and seller, HSN codes, taxable value, CGST/SGST/IGST break-up, and the final payable amount. When a customer scans this QR using any UPI app like PhonePe, Google Pay, Paytm, BHIM, Amazon Pay or WhatsApp Pay, the amount and beneficiary details are auto-filled, eliminating manual entry errors and dramatically speeding up payments. In this step-by-step guide from Sanyam Consultants (Tally Certified 3-Star Partner in Hisar), we will walk you through the complete setup process for enabling QR codes on your tax invoices, supplementary invoices, and even receipts. We will also cover voucher-type level configuration so that you can selectively enable QR on sales while keeping it off on delivery challans or proforma invoices if required.
Key Benefits
Faster Payments
Customers pay in 2 clicks from any UPI app. Average DSO drops by 40-60%.
GST Compliant
QR auto-embeds GSTINs, invoice no, tax break-up — fully compliant with CBIC notification.
Better Cash Flow
Instant settlement to your bank. Reduce follow-ups, save time on payment reminders.
Print & Email Ready
QR appears on printed invoices and emailed PDFs. No extra design work needed.
Step-by-Step Guide
Open Company & Navigate to Sales Voucher Type
Open your company in TallyPrime. Go to Gateway of Tally → Alter → Voucher Type → select Sales. Alternatively, press Alt+G (Go To) and search for "Alter Voucher Type".
Enable 'Provide Bank Details' in Voucher Type

In the Sales Voucher Type alteration screen, set "Provide Bank Details" to Yes. This will reveal additional fields for UPI ID, bank account, and QR configuration at voucher level.
Enter Company UPI ID in Bank / Ledger Master
Alter your Bank or Cash ledger (Gateway of Tally → Alter → Ledger). Under "Bank Configuration" section, enter your business UPI ID (e.g., sanyamconsultants@okhdfcbank) in the UPI ID field and accept.
Create / Open a Sales Voucher (F8)

Press F8 for Sales Voucher. Fill in party details, items, quantities, rates, and GST ledgers as usual. TallyPrime will automatically calculate tax totals.
Press F12 Configure → Enable Print QR Code
Before printing, press F12 (Configure) while in the voucher screen. Navigate to "Printing" → "Sales Invoice" section and set "Print Dynamic QR Code" to Yes. Also ensure "Show Bank Details" is set to Yes.
Press Ctrl+P for Print Preview
Press Ctrl+P (Print). Select the desired printer or choose "Preview". The invoice preview will now display a scannable dynamic QR code along with UPI ID and bank details in the footer area.
Test Scan with Phone & Send to Customer
Scan the QR on the printed or previewed invoice using your UPI app. Verify that the amount, payee name and UPI ID auto-fill correctly. Then print or email the invoice to your customer.
Pro Tips
Pro Tips from Tally Experts at Sanyam Consultants
- Use Voucher-Type Defaults: Instead of enabling QR per voucher, set F12 defaults once in the Sales Voucher Type master so all future invoices inherit QR setting.
- Verify UPI ID Format: Always test with a ₹1 scan-pay before sending live invoices. Invalid UPI IDs show "Payment Failed" in customer apps even if QR looks correct.
- Enable for Receipt Vouchers Too: You can also enable QR on Receipt (F6) vouchers so customers can make advance payments or pay dues using the same scan flow.
- Save Print Configuration: After configuring F12, use "Set as Default" in the print screen to avoid re-configuring QR settings every time you print a new invoice.
Frequently Asked Questions
Yes. For e-invoice enabled businesses, TallyPrime automatically embeds the GSTN signed e-invoice QR (containing IRN and QR data) AND can additionally print your UPI payment QR below it. Both work together — one for GST verification, the other for instant payment.
TallyPrime's built-in QR works best with a standard UPI ID linked to your current or savings bank account. If you have a PhonePe/Paytm merchant QR, extract its underlying UPI ID (usually visible in merchant dashboard) and enter it in the UPI ID field for the same result.
The QR code in TallyPrime is dynamic — it is regenerated each time you print or preview. If you modify the invoice items, quantities, or tax values, the next print preview will automatically embed a fresh QR with the updated total amount, GST break-up, and invoice details.