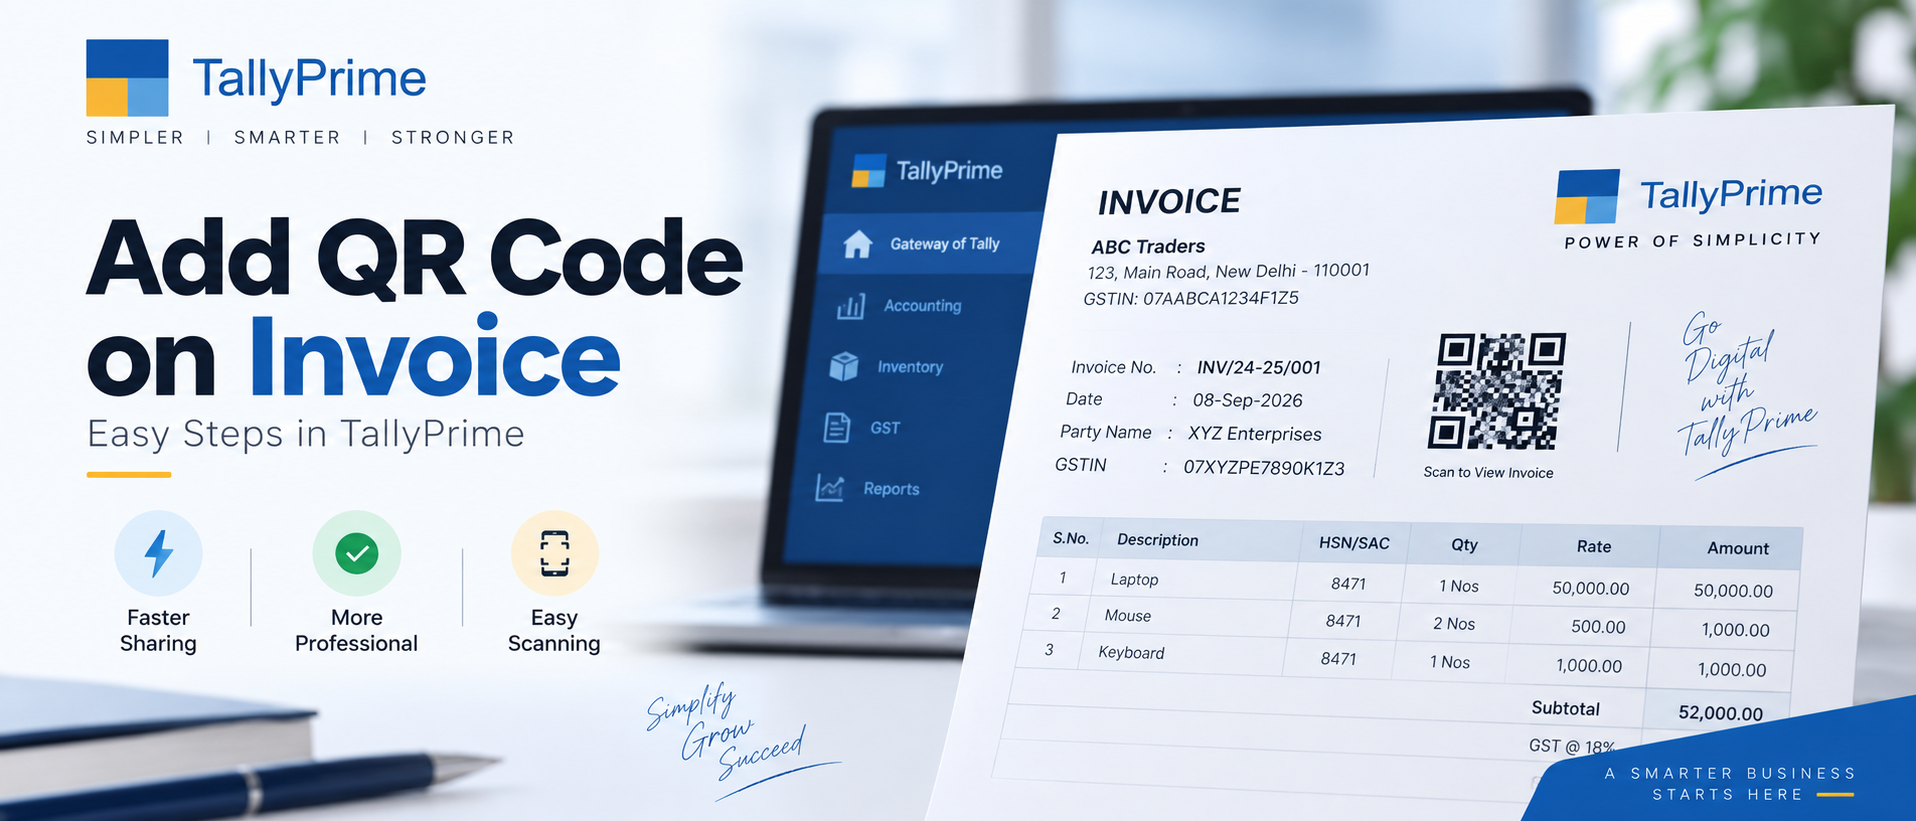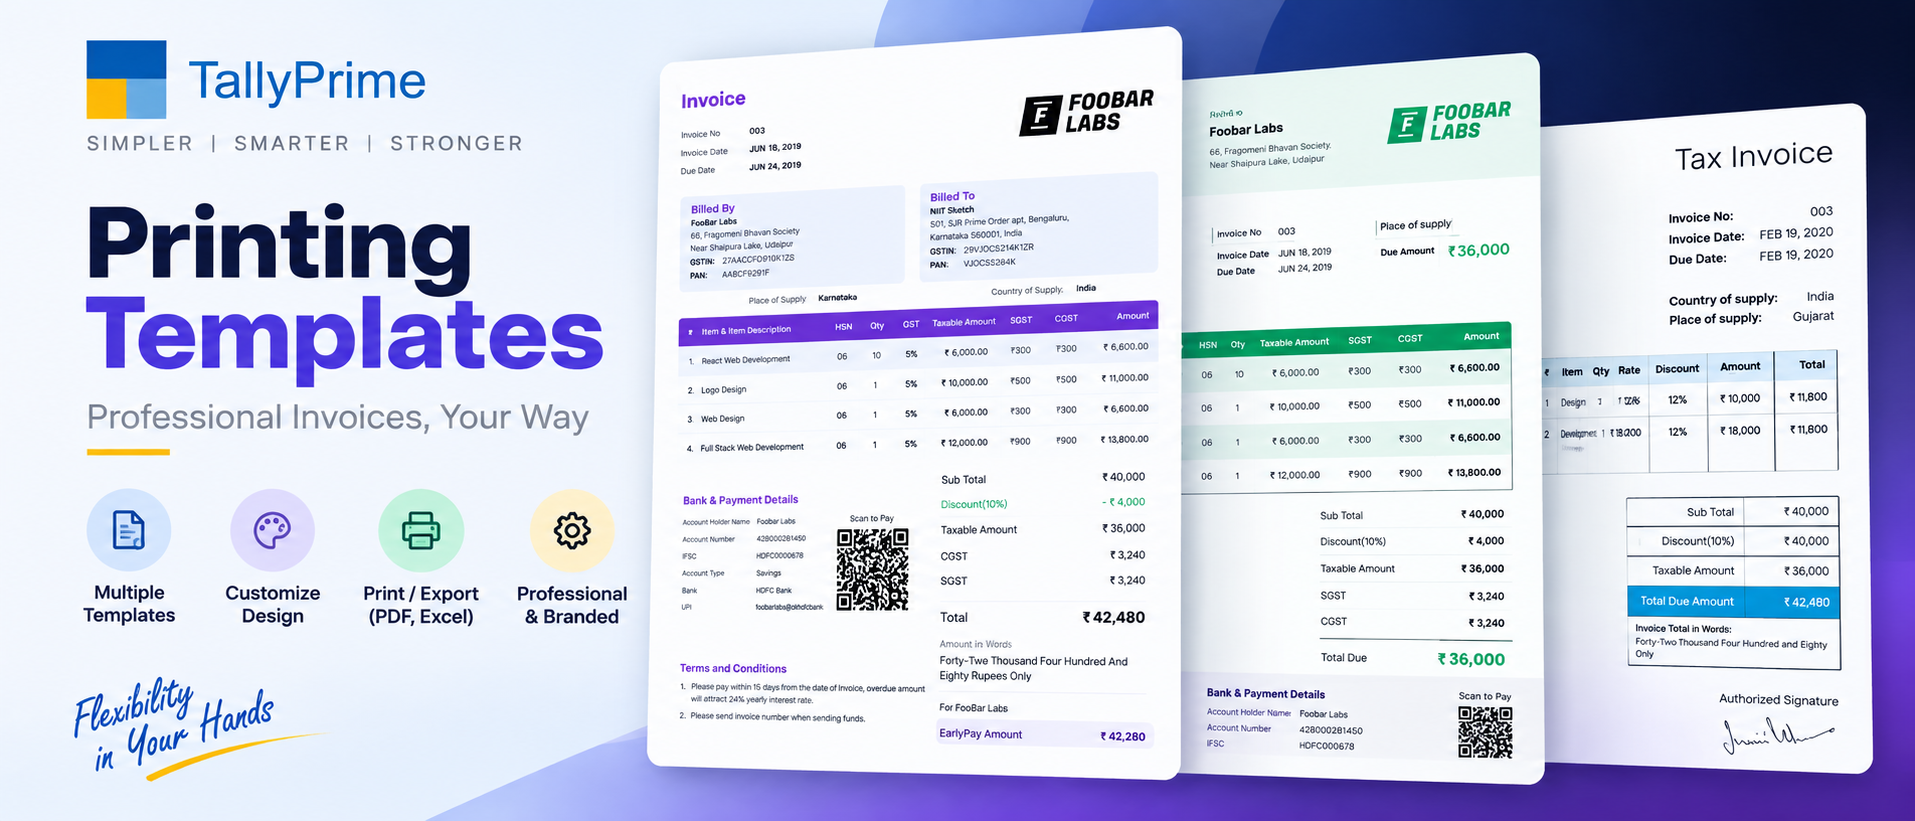
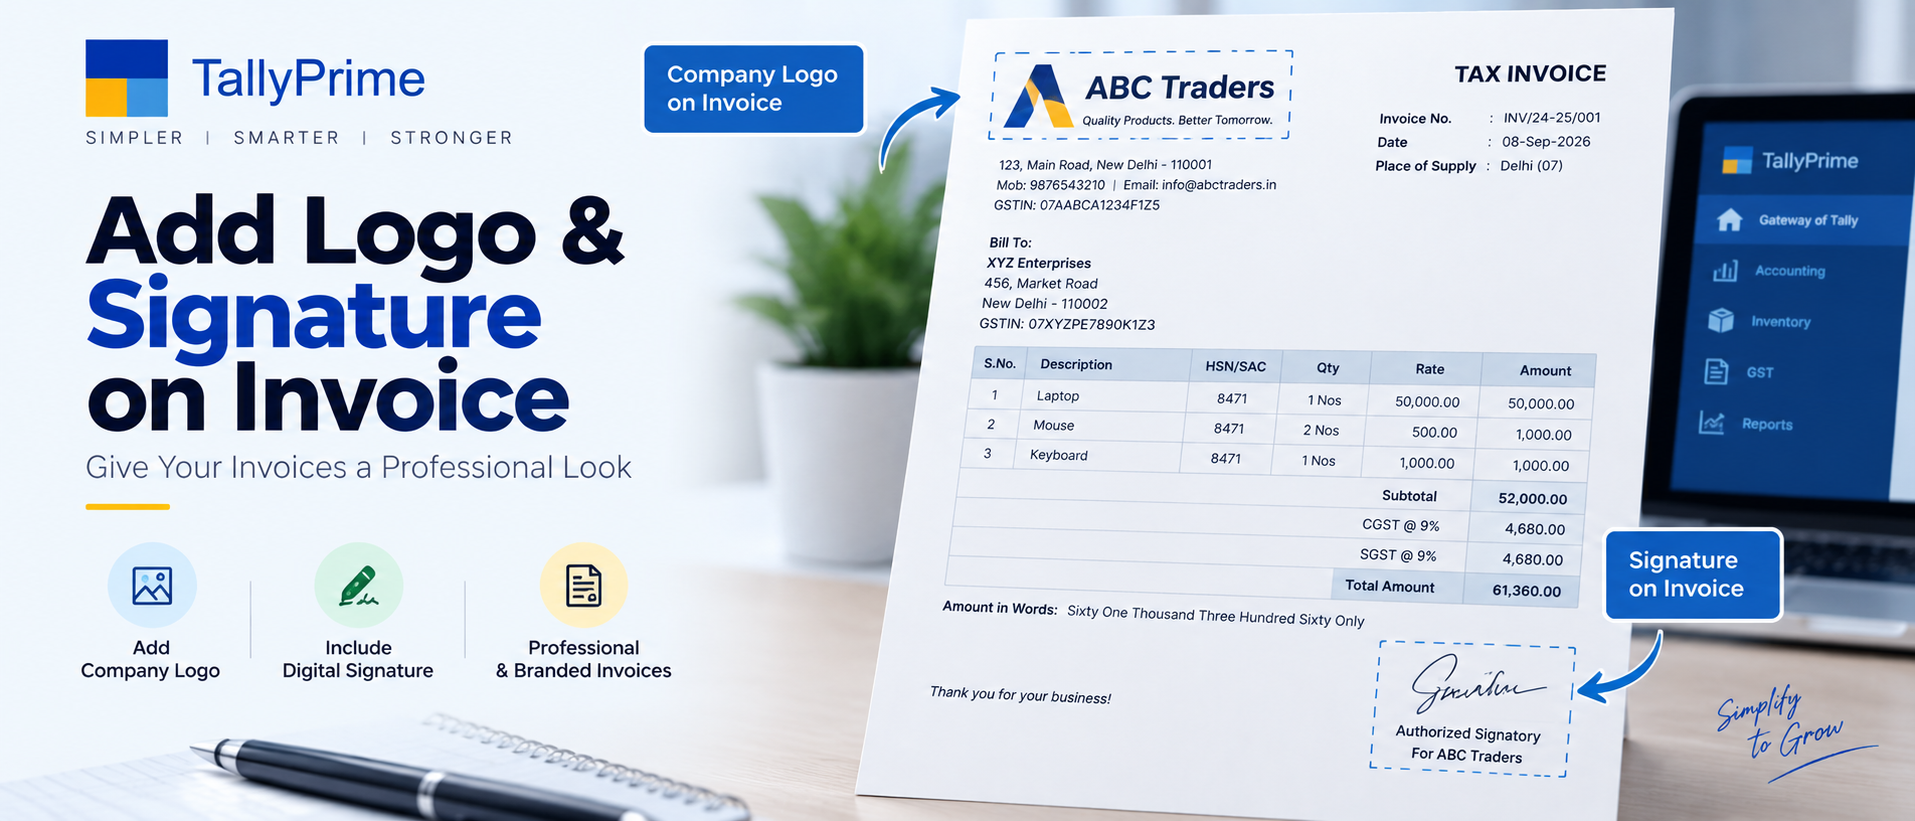
Overview
A professionally branded invoice with your company logo and a digital signature of the authorized signatory does more than just look good — it builds instant credibility with your customers, vendors and bankers, and creates a memorable first impression about the moment they open your invoice or receive your emailed PDF. In TallyPrime, adding a company logo and digital signature on sales invoices, purchase orders, delivery challans, quotations and receipts is surprisingly simple, and can be configured in under 5 minutes once you know the correct menu path and image specifications. Many Tally users often run into common issues such as blurry logos that appear pixelated on thermal printers, signature images that are too large and push the invoice items down onto the next page, or logos that only show up in voucher entry but disappear when printing or emailing. In this detailed guide from Sanyam Consultants (the most trusted Tally Certified 3-Star Partner in Hisar, Haryana, we will walk you through the complete process of preparing high quality logo and signature upload, correct image formats, correct placement options (top-left, top-right, centered), resizing tips, configuration at the company level so every voucher type level configuration and defaulting, F12 printing configuration for logo visibility, and finally verifying everything in print preview before emailing the final PDF to your clients.
Key Benefits
Brand Recognition
Consistent logo placement creates lasting brand recall. Customers identify and trust your documents instantly.
Legal Authenticity
Digital signature validates the document. Banks and GST depts accept signed Tally PDFs as valid proof.
Emailed PDFs Look Great
Logo and signature render crisply in every emailed invoice PDF sent directly from Tally.
Print & Thermal Ready
Works on A4 laser printers, 80mm & 3-inch thermal printers with correct size configuration.
Step-by-Step Guide
Prepare Logo & Signature Images in Correct Format
Prepare your logo in PNG or JPG format with transparent background preferred (PNG). Recommended logo size: around 200x200 px at 300 DPI. For signature: scan on plain white paper, crop tightly, save as PNG/JPG around 300x100 px. Avoid very large files (keep under 200KB).
Open Company Alteration (F3 → Alt+F3)

From Gateway of Tally, press F3 (Company Info) → Alter. Select your company. This opens the Company Creation / Alteration screen where you can upload the company-level logo.
Set 'Enable Company Logo' to Yes & Browse File
In Company Alter screen, scroll down and set "Enable Company Logo" to Yes. A new field "Logo Image" appears. Press Enter to browse. Select your logo PNG/JPG file. TallyPrime copies the file into its internal data folder automatically.
Accept & Save the Company Details

Press Ctrl+A to accept the logo file selection. Then press Ctrl+A again to save the Company Alteration screen. Your company logo is now stored in Tally and will be available for all printing.
Open Sales Voucher F8 → Press F12 Configure
Press F8 to create a sales voucher. Before printing or saving, press F12 (Configure). In the Printing section under Sales Invoice, set "Print Company Logo" to Yes. Choose Logo Title as needed (top-left or top-right). Set Signature Image path. Also set "Print Declaration with Signatory" to Yes.
Upload Signature in Voucher Type / F12 Defaults
For signature: go to Voucher Type Alter → Sales → set "Set/alter declaration" under printing to Yes → in the declaration screen you can browse & upload the signature image. Adjust height to approx 0.5 to 0.8 inches. Save the settings and Ctrl+A to apply.
Ctrl+P Print Preview & Verify Placement
Fill a sample sales voucher with items, save it. Then Ctrl+P preview. Check logo position and signature alignment with company name/address. Adjust logo size appears correct and signature shows just above the Authorized Signatory text. Once satisfied, print or email the invoice.
Pro Tips
Pro Tips for Perfect Logo & Signature Output
- Use Transparent PNG for Logo: Always export logo from Photoshop/Canva as PNG-24 with transparent background so no white box ruins your letterhead look.
- White Background for Signature: Scan signature on pure white paper, increase brightness/contrast in Paint/Photoshop. Pure white background blends seamlessly.
- Save per-Voucher-Type Config: Different voucher types (Sales, Purchase, Delivery Note, Receipt) can each have different logo size/position — configure each one once via Voucher Type Alter.
- Test Thermal Printer Sizing: For 3-inch thermal printers, reduce logo to 60-80px width only. Otherwise logo becomes huge on small thermal paper.
Frequently Asked Questions
This happens if you set the logo file is stored on a network path that Tally cannot access while generating the PDF. Always store logo inside your local Tally data folder by using the browse & upload method (Company Alter method above). Also verify "Print Company Logo" is Yes under F12 printing configuration. TallyPrime will automatically embed it into PDFs once configured correctly.
Company level logo is set at the company level. However, you can use the Voucher Type Alter and then F12 printing configuration per voucher type. Alternatively create multiple sales voucher types (e.g., "Retail Invoice", "Tax Invoice", "Export Invoice") each with their own print configuration and declaration including custom headers and adjust settings for each.
TallyPrime officially supports PNG, JPG and BMP formats. PNG is strongly recommended over JPG because it supports lossless quality and transparency. Avoid BMP because files are huge. Avoid interlaced PNGs may have issues—use standard non-interlaced PNG. Keep each image file size between 50KB to 200KB for best performance and to avoid bloating email size.