Overview
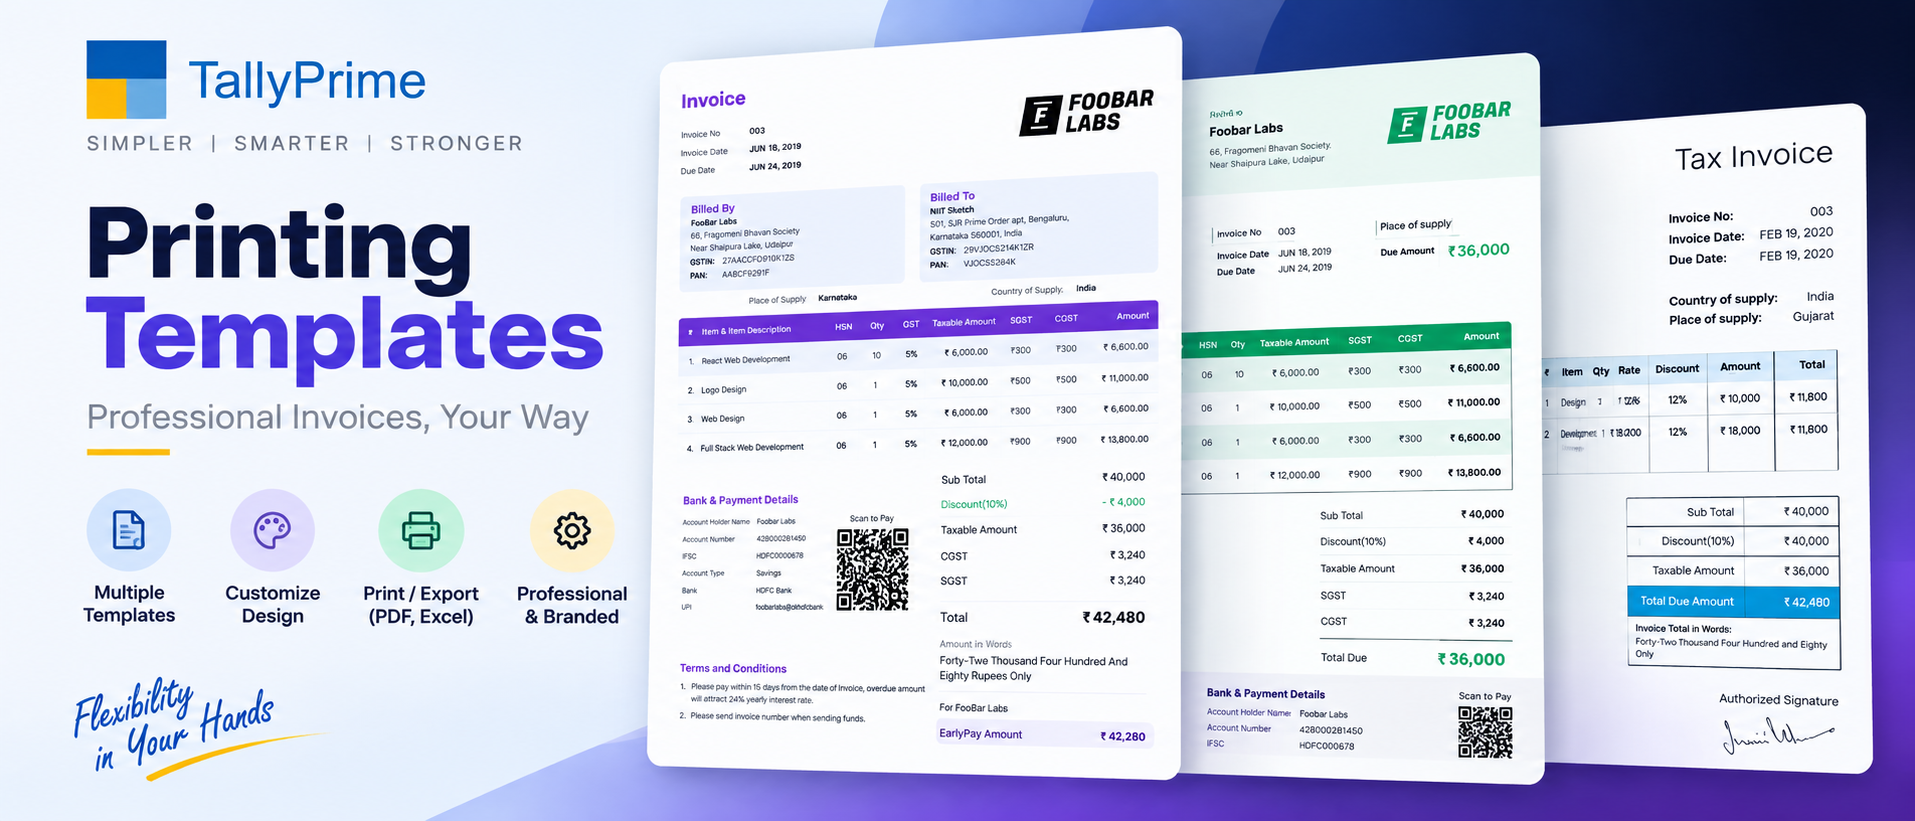
Printing Templates in TallyPrime are customizable print layout definitions that control exactly how each voucher type appears when sent to a printer or exported as PDF/XLSX. Out of the box, TallyPrime ships with three system templates for every voucher — the simple bare-bones format, the standard business format with full GST columns, and a dedicated invoice format optimized for A4 stationery. However, these defaults rarely match the exact requirements of every business. A wholesale trader needs a compact 80-column dot matrix format that fits 40 line items per page on pre-printed perforated stationery. A pharmaceutical distributor needs batch number, expiry date, MRP and HSN columns in every invoice plus a declaration about drug licence numbers. A retail shop needs a narrow 2-inch or 3-inch thermal receipt format for counter POS printing. A service provider needs a clean invoice focused on description and service hours rather than item quantities. TallyPrime's Custom Printing Templates feature lets you create unlimited copies of the base layouts and tailor every aspect — page size, margins, font families and sizes, header text, column visibility, logo and signature placement, footer declarations, digital signature, QR code positioning and paper tray selection — then assign each custom template as the default for a specific voucher type, branch, or even a specific printer. This eliminates the need for manual Excel-based invoice generation or expensive TDL add-ons for most common customization needs.
Key Benefits
Multiple Layouts per Voucher Type
Create separate templates for Tax Invoice, Delivery Challan, Quotation, Proforma and Receipt — each with its own columns and branding.
Brand Consistency with Logo & Headers
Embed company logo, office address, GSTIN, PAN, CIN and custom taglines in the header for a uniform professional look across all documents.
Thermal Printer Support for Retail POS
Configure 58mm (2-inch) and 76mm (3-inch) thermal receipt paper widths for counter billing — perfect for supermarkets, restaurants and retail.
Export to PDF / Excel with Preserved Formatting
All customizations — columns, fonts, logo, header/footer — are preserved when emailing PDF or exporting to Excel. No reformatting needed.
Step-by-Step Guide
Open Voucher in Alteration Mode & Launch Print Configuration
Open any existing Sales Voucher (F8), Delivery Challan or the voucher type you want to create a template for. You must be in Alteration mode (not Create mode). Press Ctrl+P to open the Print dialog. Before hitting Print, click the "C Configure" button in the top toolbar or press the F12 key to open the Print Configuration panel.
Select "Use Specific Template" Instead of Default Format

Inside Print Configuration, locate the topmost dropdown or radio button group labelled "Print Format" or "Template Selection". By default this will be set to "Default Template" or "Standard Format". Change it to "Use Specific Template". This unlocks the template management controls and reveals the list of existing custom templates (which will be empty if this is your first template).
Click "Create" to Make New Template — Name It & Choose Base Format
Click the "Create" button next to the template dropdown. TallyPrime will prompt you for two things: a Template Name (use something descriptive like "Tax Invoice A4 with Logo" or "Retail 3inch Thermal") and a Base Format to copy from. Choose "Standard" for regular A4 laser invoices, "Invoice" for GST-compliant tax invoices, or "Simple" for minimal dot matrix layouts. Click Accept — Tally will duplicate the base format into an editable copy.
Customize Page Size, Margins, Font Family & Font Sizes

Now the full template editor opens. Under the "Page Setup" tab, set the paper size: A4 for laser, Letter for US, or Custom Width/Height for dot matrix continuous stationery (80 column = 10 x 11 inch) and thermal receipts (58mm or 76mm wide, auto height). Set top, bottom, left and right margins in millimetres. Under the "Fonts" tab, pick a font family (Arial, Tahoma, Courier, Times New Roman or any installed system font) and set independent font sizes for Header (company name, address), Sub Header (GSTIN, invoice title), Table Body (item rows), and Footer (totals, terms, declaration).
Add / Remove Columns in Invoice Table
Navigate to the "Invoice Table" or "Column Configuration" tab. Here every single column of the item table is listed with a toggle. Turn columns ON or OFF as required: enable HSN/SAC for GST compliance, Batch No and Expiry Date for pharma/chemical/FMCG traders, MRP for retail, Discount Percentage and Discount Amount for trade schemes, Godown for multi-location warehouses. You can also reorder columns by dragging the row handles, and set custom column widths (in mm or characters) so that long item descriptions don't wrap onto multiple lines.
Position Logo, Digital Signature, QR Code & Declaration Section
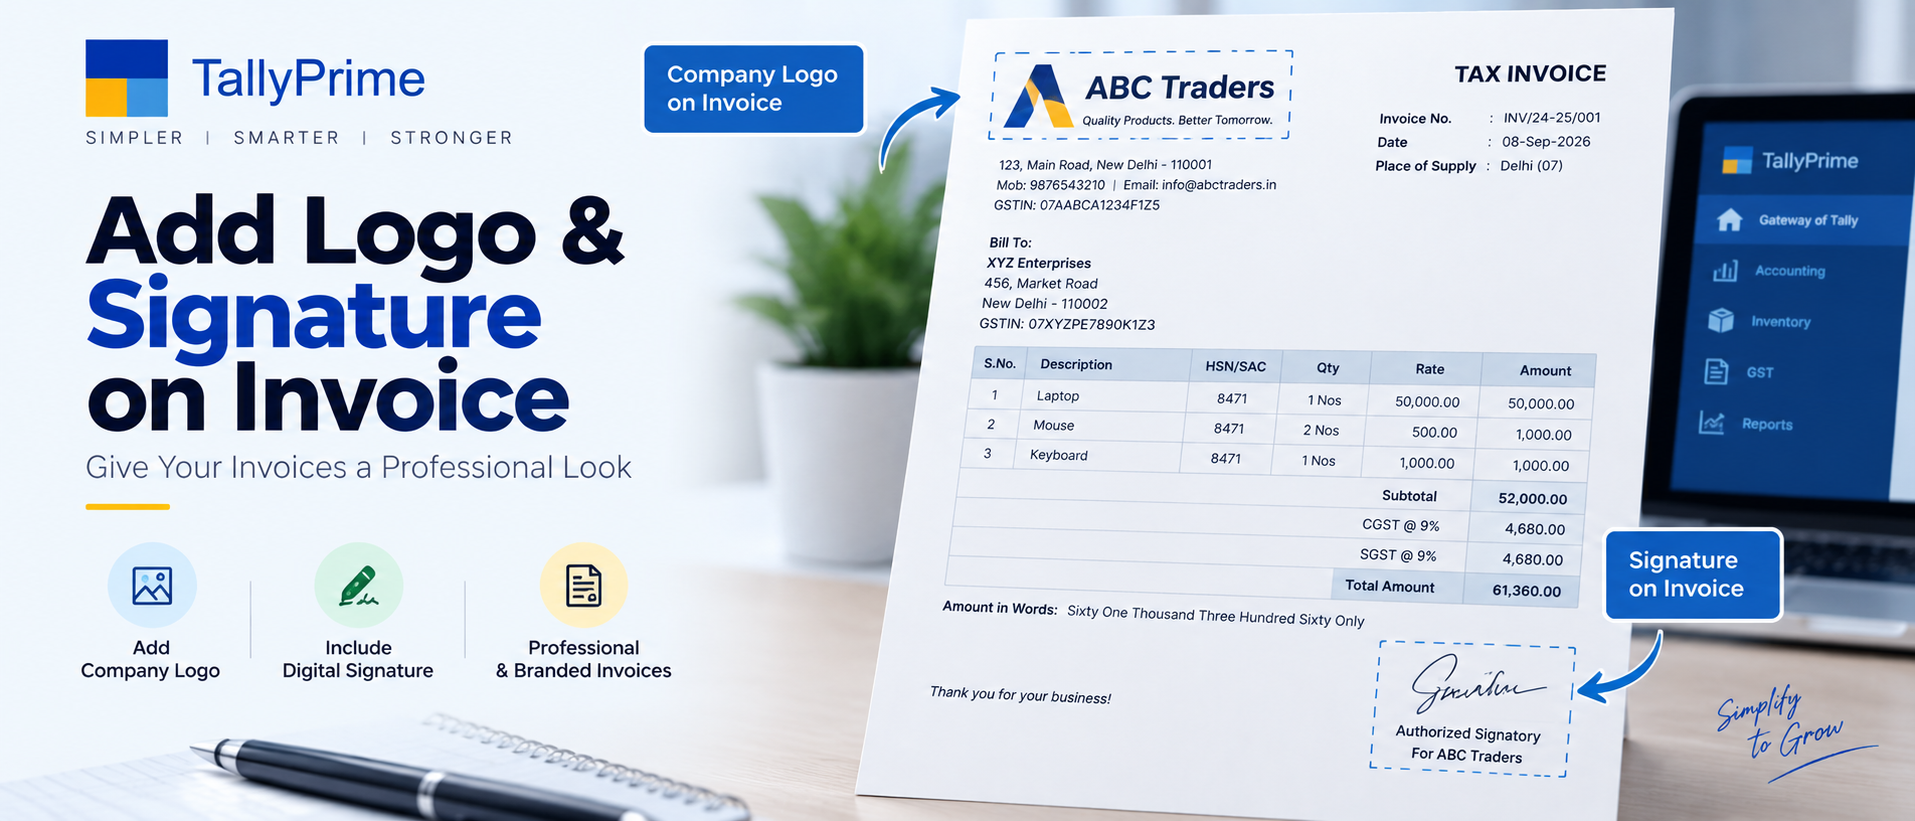
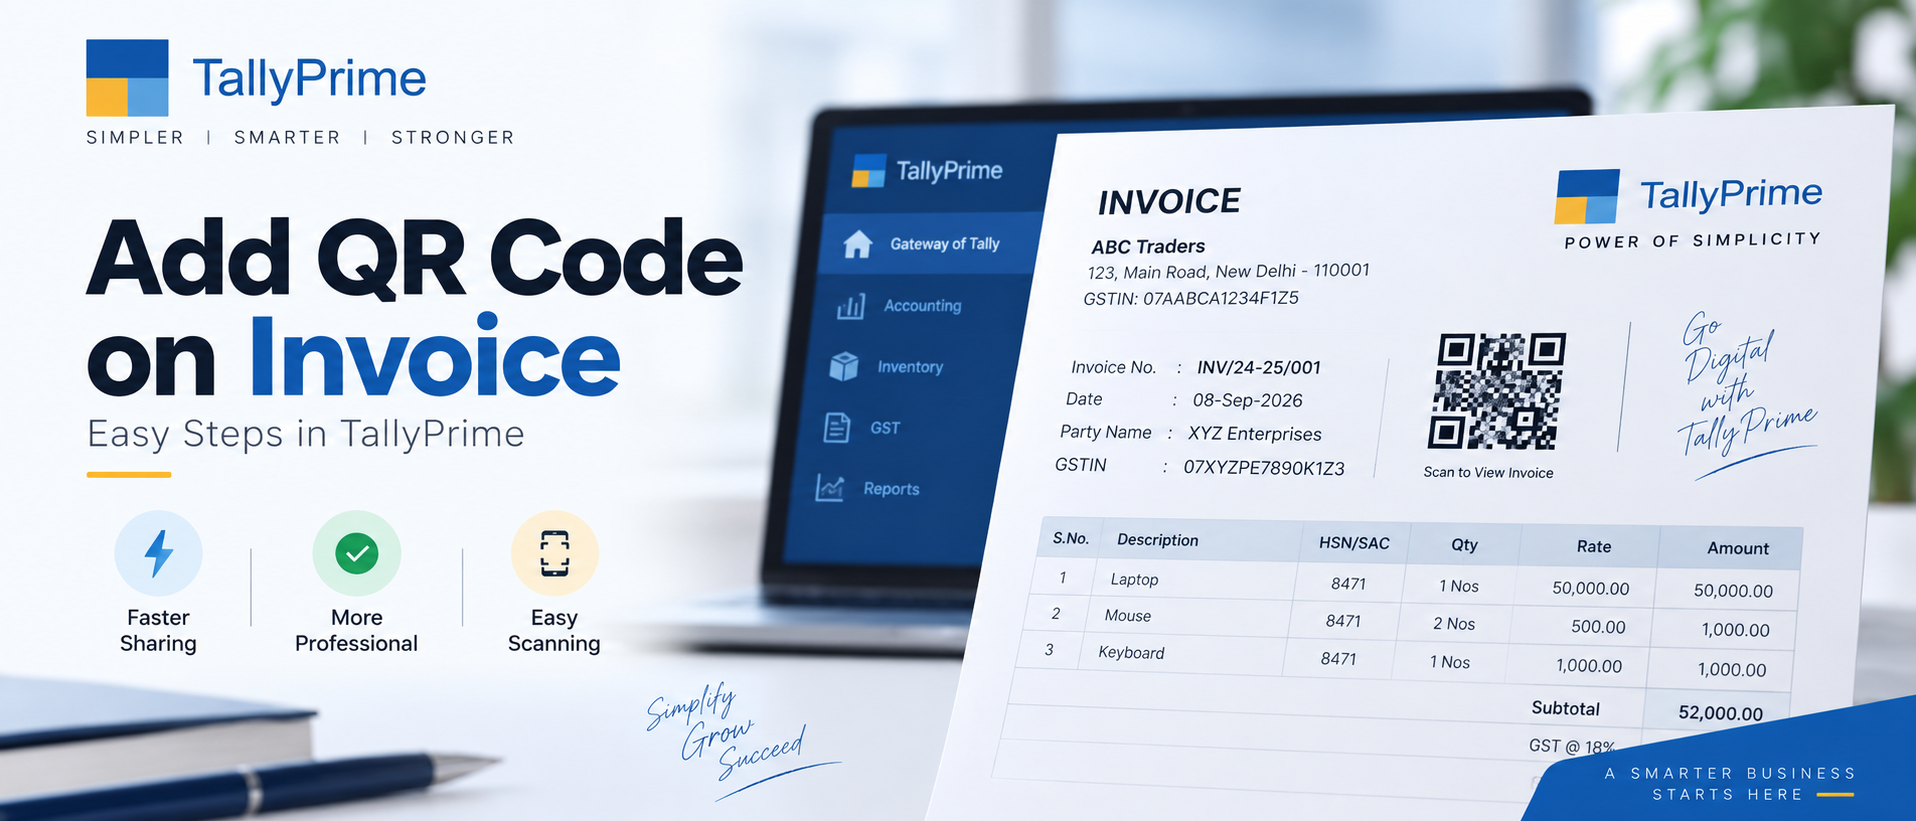
Jump to the "Header / Footer" tab. In the Header zone, enable "Print Company Logo" and use the alignment controls (Left / Center / Right) plus pixel offsets to place the logo exactly where it should appear relative to the company name. Enable "Print Authorised Signatory" to attach a digital signature PNG image in the bottom-right corner. Toggle "Print Dynamic QR Code" on and adjust its position. In the Footer section, type custom declaration lines — GST jurisdiction clauses, "Terms of Payment", "Goods once sold will not be taken back", company bank details, or your drug license / FSSAI / MSME registration numbers. Each line can have independent font styling (bold, small).
Save Template, Test Print Preview, Set as Default
Click "Accept" or Ctrl+A to save the template. TallyPrime will return you to the Print Configuration screen with your new template selected. Click "Preview" to see an on-screen WYSIWYG preview and verify every element aligns correctly. Once satisfied, load the actual printer paper you use (A4 sheets, pre-printed perforated invoice forms, thermal receipt rolls) and print a physical test copy — paper alignment is often different from screen preview. Finally, click the "Set as Default" button at the bottom of the Print Configuration panel. This assigns the template permanently to the current voucher type so all future sales invoices automatically use this layout without reconfiguring each time.
Pro Tips
Printing Template Pro Tips from Tally Experts at Sanyam Consultants
- For thermal receipt printers: Set paper width to exactly 76mm (3-inch) or 58mm (2-inch) and disable all four margins (set to 0mm). Use a monospaced font like Courier New to keep columns aligned, and reduce font size to 9pt or 10pt so descriptions fit the narrow paper width.
- Pharma and chemical traders: Turn ON "Show Batch Details" and "Show Expiry" toggles in F12 voucher-level configuration, then enable corresponding columns in the template. You can also add a custom declaration footer line with your DL No. (Drug Licence) and GSTIN.
- Create separate templates per document type: Never use a single catch-all template. Create a dedicated "Tax Invoice GST" template, a "Delivery Challan without Rates" template, a "Quotation / Proforma" template and a "Receipt Voucher" template — each optimized for its purpose.
- Always test with actual printer paper before saving defaults: Screen previews can be deceptive due to DPI scaling. Print one real copy on the exact paper stock and printer model that will be used in production. Check alignment of pre-printed company letterheads, perforation lines, and envelope window positions before committing the template as default.
Frequently Asked Questions
Yes — TallyPrime allows you to export any custom printing template as a TCP (Tally Compliance and Configuration) file and then import it into any other company on the same or different TallyPrime installation. Open the template in configuration mode, click the "Export" button at the top-right, choose a location, and give the TCP file a name. On the target company, go to Print Configuration → Manage Templates → Import, select the saved TCP file, and the template will appear with all its column settings, fonts, margins, logos and declarations fully preserved. You can also share TCP templates across branch offices or with your CA to ensure uniform invoice formatting across group companies.
Yes — in nearly all cases custom templates are fully forward-compatible across TallyPrime releases. Tally Solutions maintains backwards compatibility for the template XML schema so that templates created in TallyPrime 3.0 still work unchanged in 5.x, 6.x and 7.x series. However, as a precaution we strongly recommend exporting all your custom templates to TCP backup files before running any TallyPrime upgrade or data migration. In rare cases, a new Tally release may introduce additional print fields (such as e-invoice IRN/QR columns introduced in 4.x) that were not present in older templates — in such cases you can simply open the template in edit mode, enable the new columns, and re-save without rebuilding the entire layout.
There are two clean approaches depending on how dynamic you want the bank details to be. First method (recommended): Inside the template editor, open the Footer section and use the "Custom Text Lines" area to type fixed text like "Name: Sanyam Consultants Pvt Ltd | Bank: HDFC Bank | A/c No: 50200012345678 | IFSC: HDFC0001234 | UPI: sanyam@okhdfcbank" — you can add up to 6 independent lines. Second method (dynamic per bank ledger): Set "Provide Bank Details" to Yes in the Sales Voucher Type master (Gateway → Alter → Voucher Type → Sales), then ensure "Show Bank Details" is enabled in the template's footer configuration. This way TallyPrime automatically pulls the bank account, IFSC and UPI ID from the specific Bank ledger selected at voucher time, which is useful if you receive payments into multiple bank accounts and want the correct details printed per invoice. For terms and conditions, the Footer Custom Text area works perfectly — add lines like "Payment within 30 days from invoice date | Interest @ 18% p.a. on overdue | Subject to Hisar jurisdiction only."