Overview
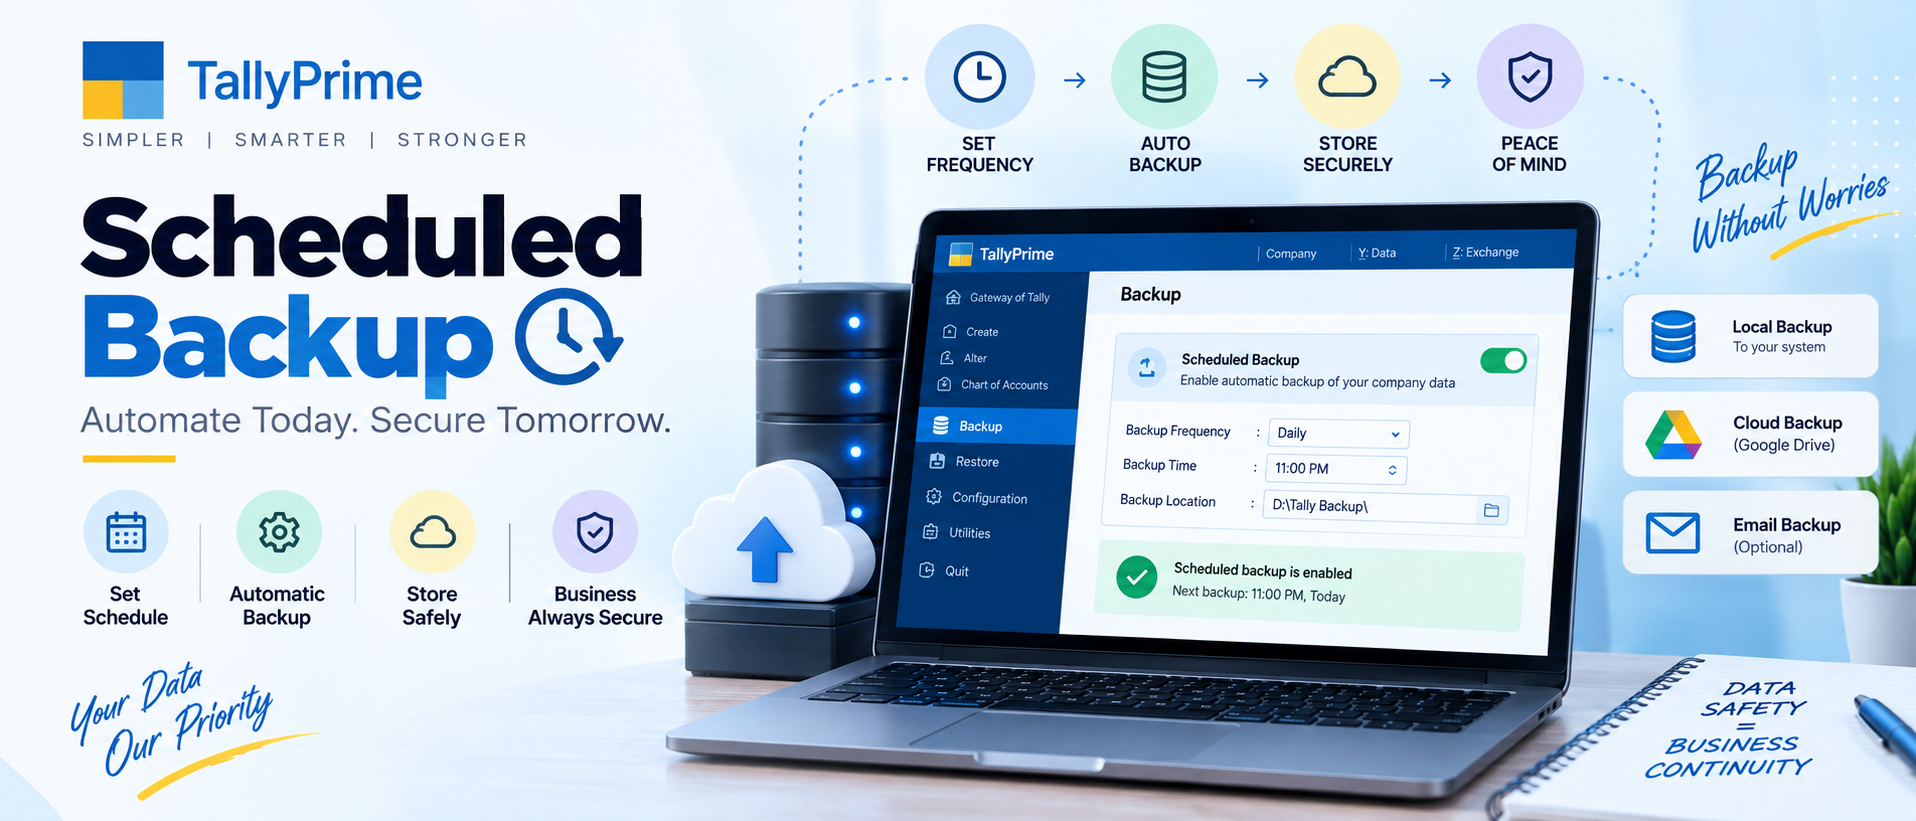
Data is the backbone of every business running on TallyPrime — from sales invoices and purchase records to GST returns and payroll. Accidental deletion, system crashes, hardware failures, ransomware attacks or even a simple power outage during a write operation can corrupt your entire company file in seconds, leaving you with no way to recover months or years of financial records unless you have a clean backup. The Auto Scheduled Backup feature in TallyPrime eliminates this risk completely by automating the backup process. Instead of relying on your team to remember to take backups manually every evening, you configure the scheduler once and TallyPrime does the rest — quietly creating compressed ZIP backups of your company data at the exact time and frequency you choose, whether you are logged in or not. You can store backups on a local drive, a shared network folder for multi-user environments, or even Tally Drive for secure offsite cloud storage, ensuring geographical redundancy. Combined with smart retention policies that automatically delete old backup versions after a specified count, scheduled backup keeps your storage space efficient while always keeping recent copies available for restore. This guide walks you through every step of setting up scheduled backup correctly, testing its integrity, and restoring data when you need it the most.
Key Benefits
Zero Data Loss
Automatic backups at scheduled times mean you always have a recent restore point even if the primary disk crashes or gets infected by ransomware.
Set-and-Forget
Configure once with preferred time, frequency and location. TallyPrime runs backups automatically without manual intervention every single day.
Multi-Location Backup
Backup to local folder, NAS/network drive for multi-user LAN, or Tally Drive on cloud for offsite protection against theft, fire or physical damage.
Smart Version Retention
Keep only the last N backup versions to save disk space. Auto-delete older files so storage never fills up without admin intervention.
Step-by-Step Guide
Open Company Info Screen
Launch TallyPrime and open your company. Press F3 (Cmp Info) from the Gateway of Tally. The Company Info menu appears on the right-hand panel with options like Select Company, Shut Company, Backup, Restore and Alter.
Navigate to Backup

From the Company Info menu, choose Backup. The Backup Company screen opens showing Source (your current company data folder) and Destination fields. The backup is created as a compressed ZIP file containing company data.
Select Backup Destination
Click on Destination and choose where to store backups. For single-user setup pick a local folder like D:\TallyBackups\. For multi-user choose a network share path. For cloud, select Tally Drive from the Save to Cloud option. Always backup to a different physical disk than your Tally data.
Enable Auto Scheduler

On the Backup screen, set Auto Backup = Yes. New scheduling options appear. Set Frequency to Daily (recommended) or Weekly. Set Start Time to after business hours, typically 6:00 PM, so backup runs when nobody is actively posting entries.
Configure Retention Policy
Set Number of Backup Copies to Retain to 5. This keeps the last 5 daily backups and automatically deletes the oldest one when a new backup is created. For weekly backups you might retain 4 copies to cover a full month.
Save and Run First Backup
Press Ctrl+A to accept the backup configuration. TallyPrime will immediately run the first backup to verify the destination path is writable. You will see a success message with the full path of the generated ZIP file once complete.
Verify Integrity and Restore
Once a month, restore the latest backup to a test company to validate integrity. Go to F3: Cmp Info → Restore, select the backup ZIP, choose a new company name and verify reports match the live data. Never wait for a real crisis to discover your backup is corrupted.
Pro Tips & Best Practices
Backup Best Practices Checklist
- Use the 3-2-1 backup rule: Keep 3 copies of data on 2 different media types with 1 copy stored offsite (Tally Drive or separate external HDD).
- Never back up to C: drive: Always use a secondary internal drive, external USB drive or NAS. If Windows crashes and you need to format C:, your backups stay safe on D: or external storage.
- Verify backup ZIPs monthly: Open the latest ZIP to confirm it contains
Company.900and related files, and restore to a test company to ensure reports open without error. - Schedule backups outside business hours: 6 PM to 7 PM is ideal for most businesses in Hisar. Avoid backup times when users might still be posting heavy inventory or payroll entries.
Frequently Asked Questions
Yes, the TallyPrime auto backup scheduler runs independently as long as the TallyPrime server process is running in the background on the server or main machine. For multi-user Gold/Server editions, the server machine must remain powered on and TallyPrime service should be in running state at the scheduled time. We recommend enabling auto-login on the server PC and adding TallyPrime to Windows Startup so it launches automatically after every reboot.
Open TallyPrime Gateway, press F3 (Cmp Info) → Restore. Browse to the backup location (local folder, network or Tally Drive), select the latest backup ZIP file, choose the target data folder where you want to restore, then press Ctrl+A. TallyPrime will extract and restore the company. If restoring alongside existing data, use Alter to give the restored company a different name to avoid overwriting the live company. Always restore to a test name first and verify the data before replacing the production company.
Scheduled backup is designed to be lightweight and runs with minimal I/O impact because it reads files sequentially. However, for very large company files (1GB+) it is still recommended to schedule backup after working hours (6 PM or later) when no users are actively posting transactions. TallyPrime backup uses incremental reading and compression. In a well-maintained system with SSD storage, even a 500 MB company usually backs up in under 30 seconds. You can also enable low-priority mode in the backup settings if you absolutely need it to run during business hours.